Trimming and editing the video are important tasks, especially when it comes to creating professional videos that are created to impact the bulk audience. Undoubtedly, it is the trimming of the video that determines how it will impact the viewers’ emotions and their feelings. The good news is that you can also enjoy the creation of amazing videos if you know how to proceed with trimming which simply means editing the start and end times of videos or clips. So today in this article, we will cover how to trim videos in Adobe Premiere. We have selected this tool because it is the popular industry-leading video editing tool.
Well, it will just take only a few easy and simple steps, so here we go!
3 Practical Steps On How To Trim Videos In Adobe Premiere
To trim videos in Adobe Premiere, it is important to have Adobe Premiere Pro on your PC. You can also try it for free with the 7-day free trial period. After that, you will have to pay $20 per month.
Step 1: Launch The Adobe Premiere & Go To Editing Interface
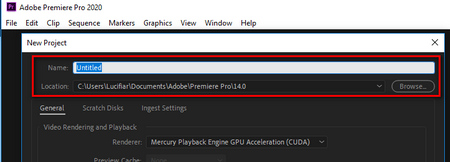
The first step is the successful launching of Adobe Premiere Pro on your PC. The screen will appear with the option of “Create New Project”.
Click on this option, choose the name, and select the location where you want to get it stored.
You can also proceed with more settings if you want. Check more settings at the bottom of the screen. Here you will see basic settings, follow them, and then click on the OK button. After pressing the OK button, you will be redirected to the editing interface.
Step 2: Import Your Media
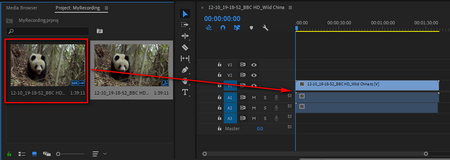
Now the next step is to import your media. No matter what is the file type and video format, all you need to do is to click on the “Select File” option. It will enable you to import videos from the Media Browser. You can simply do it by right-clicking on the required file. The option to drag and drop files is also available which is another alternative by which you can import your media to Adobe Premiere Pro.
Step 3: Trim Your Videos In Two Super Easy Ways
It is time to trim your videos and modify them in the way you want. Remember that Adobe Premiere allows you to trim using the two methods.
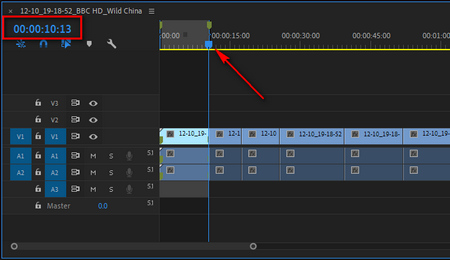
The first method involves the use of Trim mode in the Program Monitor. It will enable you to access the two-up view so that you can do the frame-by-frame trimming.
The second method involves using the wider view to proceed with the detailed edits on the single large screen.
Pro Tips For Trimming Videos In Adobe Premiere
Time Remapping
Time remapping is the technique that you can enjoy in Adobe Premiere. It allows you to make clever and quick videos of your clients, friends, and family members. With this secret option in the pro version of Adobe Premiere, you can record at a High Frame rate and enjoy the Duration Effect.
It is a great trimming tip for editors who want to add a cool and stylized look to their videos.
Creative Timeline Nesting
It is a powerful tool that you can use to rearrange your sequence of clips and then proceed with trimming. Placing your sequences into other sequences can keep everything segment in your videos, making it possible for you to trim the videos most professionally.
Colour Brightening Techniques
Trimmed video can look more beautiful and cool when you add some colors and effects from the Effects Panel. It is also helpful in giving a professional and natural look to your trimmed clips, movies, or videos.
The Easiest Way To Trim Your Videos – iMyFone Filme
iMyFone Filme is a super simple and easy-to-use video trimming and editing tool which you can use to split, trim, crop, and add effects to the videos. The trimming option of this amazing software allows you to get rid of unwanted portions of your video on the go.
Notable Features
- Comes up with built-in effects and an amazing layout design.
- On one side, it is super easy to use while on the other side, it has all the advanced features for professional video trimming and editing.
- Highly understandable for beginners who want to gain expertise in video streaming and editing.
- Free customer support.
- 100% safe to use.
- Perfectly compatible with windows and Mac.
Step 01:
First comes the downloading process. You can download it for FREE to your windows device. After clicking the download link, the file will start downloading and you will get the .exe file.
The installation will be immediately completed after your device’s permission.
Step 2:
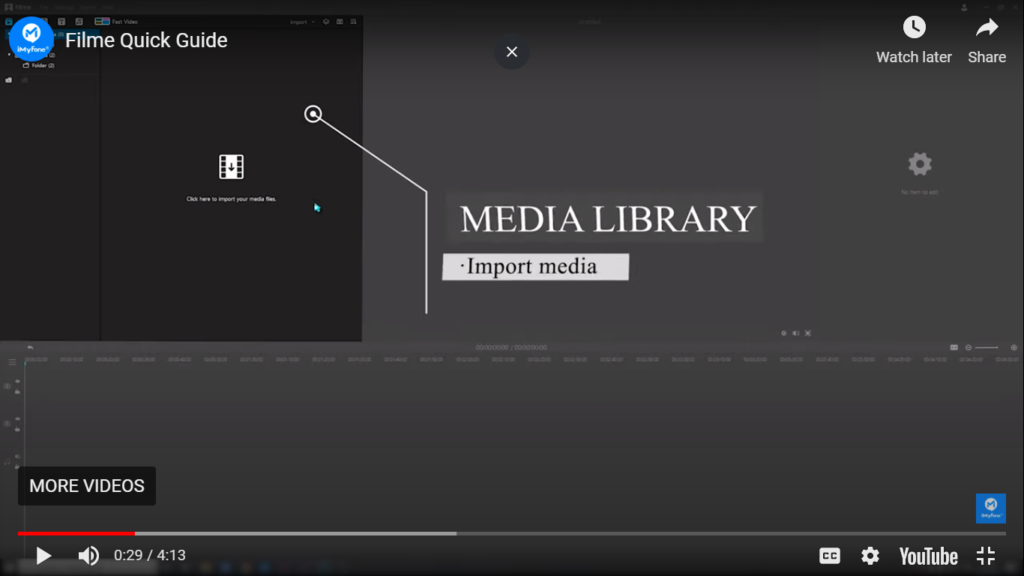
After successfully launching this tool on your PC for free, access the Media Library where you will be able to import media.
Step 3:
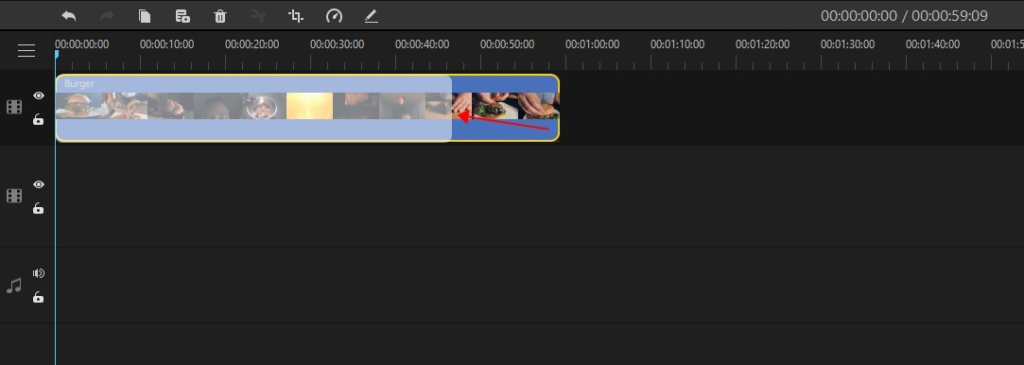
In this step, you can use simple techniques to trim the videos. The video will appear in the form of a series of pictures and you can use your mouse to add the required portion in the final output. The detailed editing options will enable you to get the desired form of video.
In the end, you will see the option to save the trimmed video in the desired folder on your PC.
After using this software, you will see that the Interface of this software is fast and easy. You will never see any errors, bugs, and issues.
Here it is worth mentioning that you can use it for video editing on PC and iPhone as well.
Final Verdict
In this article, we have discussed how to trim a video in Adobe Premiere Pro. However it is worth mentioning that Adobe Premiere is for the professional video editors and may not be the perfect tool for beginners. So the best and easiest alternative for beginners is iMyFone Filme which is a simple and easiest tool that is perfectly compatible with Windows, iPhone and Mac.
You got it?
Well, then it is up to you to choose the right one based on your unique video editing needs.

